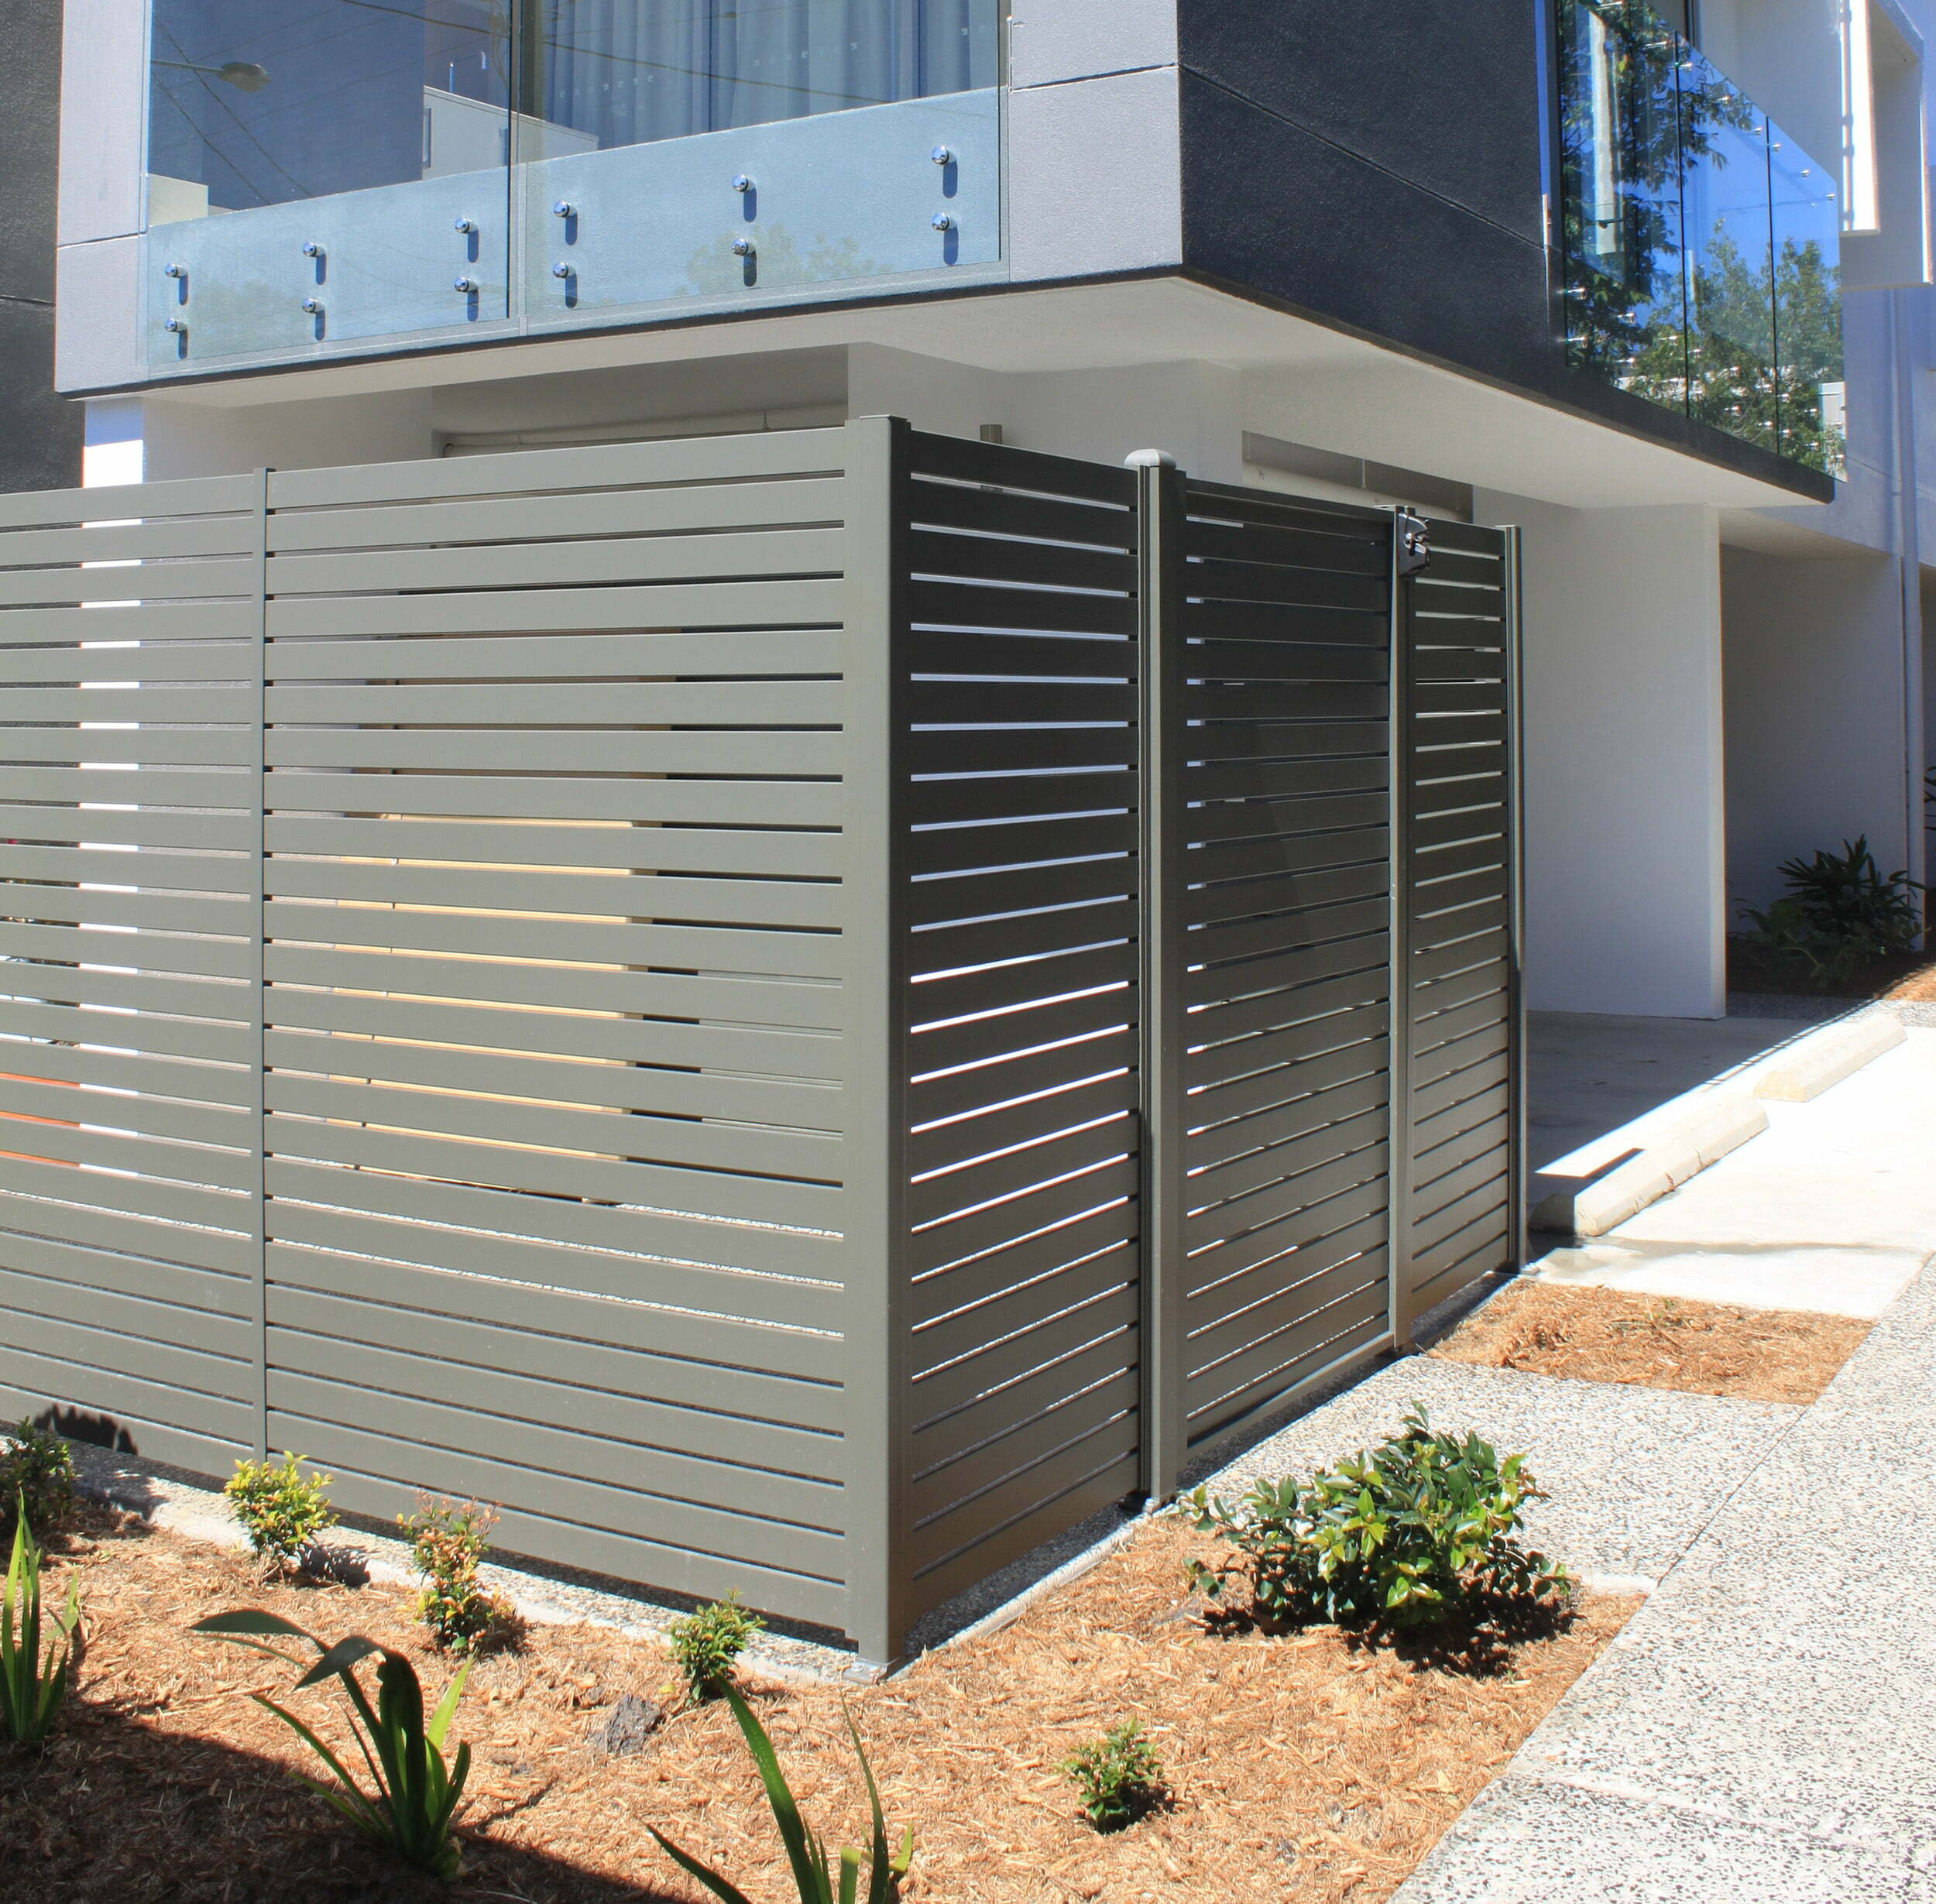
Picket Fencing
Do You need a Picket Fencing gate frame? You will need some posts. As well need some concrete, a shovel, spirit level, a saw. You need drill drivers. You need your safety gear, a sawhorse. some people need some screws. First thing I’ll be doing now is putting the two posts in for the gate. We will be setting them in concrete so we will need to let them dry at least hours. The next thing I’m gonna be doing, is using a square to transfer a line from the brick wall to the fence.
Usually a square might not be long enough to reach the fence, so a little tip is just to run a picket along this edge of the square, and you can mark it off on your fence when your square’s flush on the brick wall. And these two marks are now where to install the face of my two gate posts.
Next step will be to dig the post holes on both sides. Now that we’ve got our holes dug, I’ll be mixing the concrete. For these posts, we’ll be using the quick-set concrete so there’s gonna be minutes of working time. Also it’ll set hard enough so the following morning you’re gonna hang your gates. I’ve now mixed the concrete, so I will be putting the post into the hole. So we got the post on the mark, on the brick wall. I’m just leveling it up now. I’m holding it firm up under the brick. Okay, so I’ve got my one post in now. Now its the time to go back to the second post, and this one will go in deep. Using the spirit level, I will level it up again.
If Unsure – Read Again
The posts are in. Now we will let them sit. I will recommend hours. So this post was put in last night, so now we will be drilling our holes in the post for the Dyna bolts. Next we’ll be countersinking the Dyna bolts so we can get it. It is a hundred mm Dyna bolts so we can get it firmly into the brick. This will firm our post to hang a gate off. fFrst I’ll be marking three spots in the middle of the brick because that’s where we get the strongest fix. So now I have marked that on my post where I’m to drill my holes, so the next thing I’ll be doing is using my mm spade bit to countersink approximately into the post.
Drilling
The next thing to make our Picket Fencing is I will be doing is drilling my hole through the post. I have put a pencil mark on the drill bit which is just short of going through the whole post. That way as I’m drilling I can see my pencil mark coming up. Now I can stop drilling before I hit the brickwork. I will be now using my hammer drill with my mm masonry bit to drill holes into the brick from my mm Dynabolts.
The Dynabolts is mm long, and since our counter sunk into the post, we will get enough depth into the brick to hold it firmly. Now that I have drilled my three holes, I can get my Dynabolts and hammer it into the hole and tie that up with my socket set.
Following step now is to measure the difference between the posts. I’ll measure it top and bottom to make sure I’ve got a fairly square opening. That measurement determines the length of the horizontal bars of the gate. Next step will be to measure and cut on all three horizontal parts so we can put the gate together. Now that we have cut our three horizontal rows, it’s just a matter of assembling it together. Now it’s just a matter of putting some of the screws supplied with the gate.
Picket Height
Based on the surface that we are doing on our pathway, we determined that the picket height should be around about there. The gate frame will sit just under the collar of the picket head, so I’ve pencil marked the little spot on the post. Now I know where to hold the gate frame as I screw it up. After putting my first screw in, I now put a spirit level on.
Make sure I can get the gate frame quite straight, and then I’ll put my next screw, just one there in the bottom as well. Now I can adjust it a little bit. I can bring the bottom out a little bit more to keep the gap a little bit more even.
Now that my hinges are screwed to the post, I’m gonna lift the gate off the hinges, take it over to my sawhorses, and we will screw the pickets under the gate frame. After clamping my first picket in place, I’ve worked out the spacing’s with the view of finishing with a full picket, and we’ve ended up with about a mm gap. The thickness of the picket is. A gap means that I mark off at every.
Fitting up
Before I screw a picket stand, I’m using a drill with a counter-sinker on it. This will assist and that stops the hardwood pickets from splitting as I screw it down. Now I will lay my pickets out, ready for the matching gate to my new picket fencing, and as I screw them and drill them. I’m moving to my little mark that I’ve marked out. I have now screwed my top pickets on, so I will be doing the bottom ones there. I’ve got a line the same as I did at the top, and I’ve drawn a line down the middle so I can get a straight line with the screw holes there because the pickets will then already be in place.
You would notice as I screw them on I pull them up to my little line marking so I know that the gap’s gonna be the same every time. So now I’m just gonna hang my gate, and one of the last things, before I put ledges on, is to cut the tops of my post. Normally cut the post off about a cm above the heart of the pickets. Now that both posts are marked, it’s time to get my saw and cut the top of the post. Because of the heart of the post, it’s probably better not to use a circular saw.
So that’s it.
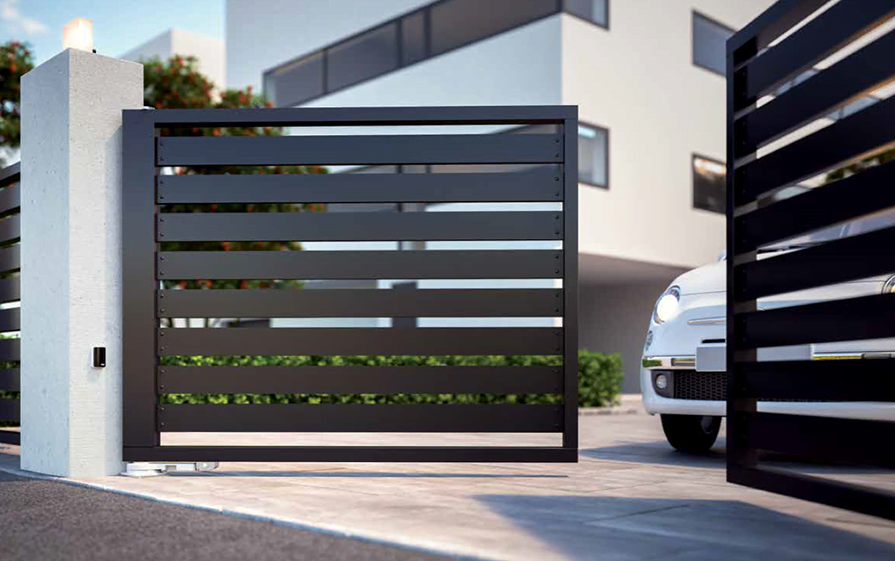
Picket Fencing
That’s how you build a picket gate.