 Colorbond Fencing Gold Coast, We install and supply Your new fence
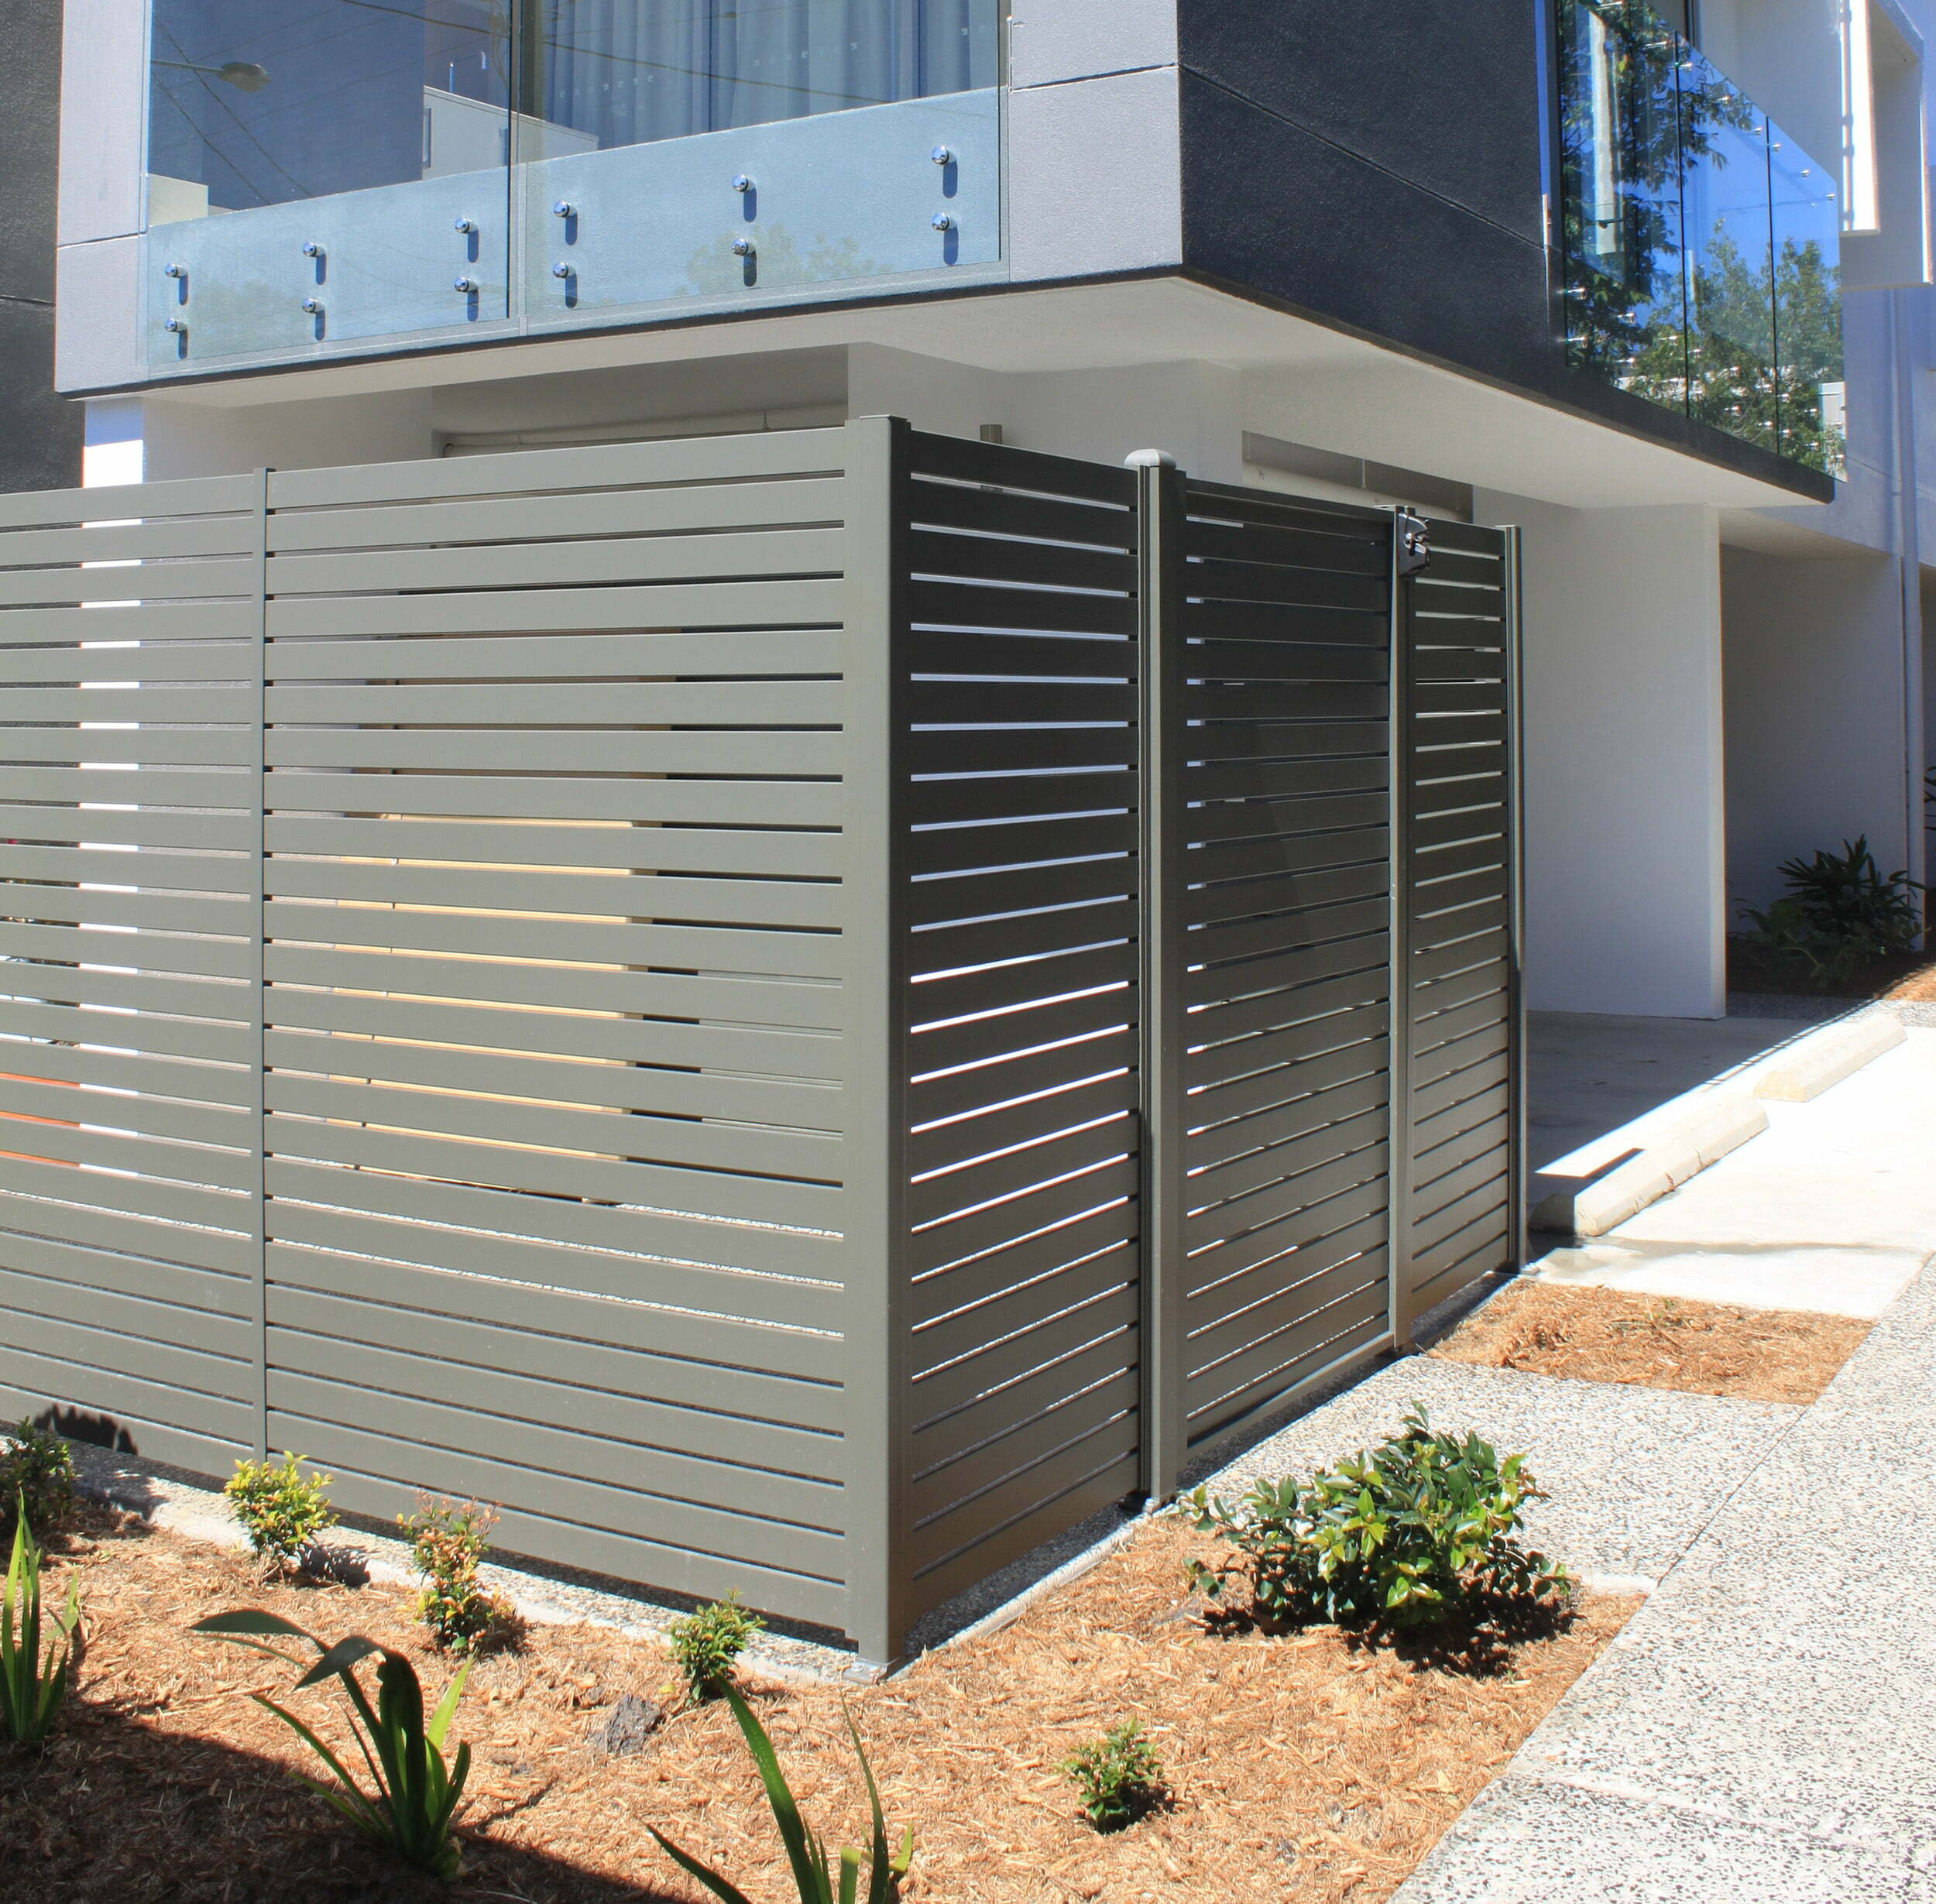
The tools we need are a level, sawhorses, cement, water, string line, safety gear, a hammer, tape measure, spray paint, drill driver and some clamps, basic fence posts, and a shovel of course. We are choosing Colorbond because it’s easy to install, very low maintenance, and it lasts a long time, and as well as that, it comes in a variety of colors already painted and ready to assemble.
Our first step is to measure and lay out our line and mark that on the ground. The Queensland state and Coast is a great place for Colorbond Fencing to be used.
Next Step
Now it’s time to run a string line, fix it to the other end, run the line for the length, and then mark it on the ground for where we’re going to put our fence and establish where our posts go. So now we’ve got a straight line for the fence on the boundary. We’ll mark it with the marker paint to see where we’re going.
So our first post will go against the existing building. We’ll use our plinth board as a guide to put the next post. So we will mark that location and then we can mark the next successive one further down.
Now we’re ready to dig the hole. So, we know the size of our panel, we know the height of our plinth board, we know the height of the capping, so working on those heights, we know how high to set our posts so that we’ll have a nice flush line across the top of the fence. When you are doing this, obviously if you follow the instructions carefully in the pack that comes with it you’ll be able to see exactly where you need to be with that.
Here, and remember, before you dig, always check with your local authorities in case there are any other services running through your property.
Colorbond Fencing Gold Coast
Now we’ve located our first post, so that’s just a single channel because it’s the end.
When we come to the second post here, because it’s going to have two pieces of fence coming together, we need to assemble two posts or two channels together. So we simply put that on its back, put this on top, and screw the two together to make one. And just to make sure we get it nice and symmetrical, we’ll clamp both ends just to lock it in place while we fix it together.
We’re ready to put the screws in and fix the two pieces together to make a post. So just remember when you come to fix these together, check your instructions because it gives you the set-out for the screws for the clearance from each end and from the center of the channel according to the length of post that you are putting together.
So we’ve fixed the side now and as per the instructions, we’ll turn it over and fix it from the other side. We’ve already got it clamped at the ends, so we can just roll it over.
And now we’ve got our pole complete, so now we’re going to slide the post and check the height. Okay, so now we’re going to check the height as per the specifications we’ve set out for our level of fence. So this one needs to be a bit higher, so we’ll just add a little bit of dirt in the bottom of the hole to bring it up to the right elevation.
That’s perfect.
Bulls Eye
So it’s very important, before we set these posts in, to make sure our fence is going to be level, and that’s all going to depend on our plinth board. So using the level we double-check, and if necessary just adjust underneath that until we get that centered on our level. Now we’ve got our levels correct, so we just need to plump them up and put in
our concrete to set the posts. That’s pretty well spot on.
And now we will cement the holes following the instructions on the packet. I’ve backfilled it with dirt, we’ll just recheck the plum and then we’ll continue the process with the rest of the poles. So we’ve measured the gap. We’ve got a short length to fill, so we’ll transfer that measurement onto the plinth board and cut this piece to fit. And just
to be sure to give a straight cut, we’ll clamp it down to the sawhorse.
So now we’ll fit the missing link to complete the plinth. Now we’ve got our posts and plinths in and ready, we’ve got the framework now for our panels and capping to finish the whole fence.
It’s as simple as that to install posts for a colorbond fence , with Colorbond Fencing Gold Coast For Colorbond Fencing Gold Coast, Contact Us Here